Showing posts with label wool. Show all posts

Tuesday, November 16, 2010

Handmade Holiday

Greetings...
A quick update on the christmas gifts that I am busily working on.
I am almost halfway done with an extra long wool scarf for my sister. I made one of these a couple of years ago for my husband, and since he has been away I have been using it, and it has become clear that I must also make one for myself. I love it!. The secret is to make it extra long. It is very simple yet time consuming; I cast on 36, and then knit 3 purl 3 and so on. I think I will use 3 skeins of the Lambs pride bulky weight yearn to complete it, maybe even a bit more.
I am also in the process of making a special woolen blanket for Kaleena. I am loving using felted woolen sweaters and I am using these for her blanket. So far I have cut perhaps half of the squares that I will need. I need to find a few more lighter colored sweaters to complete the look I want for her.  I will share the finished product once I have it ready
I also finished two more pairs of fingerless mitts for the youngest girls of the house, I may add a scarf to these, I have not decided yet..
 Today at the homeschooling group one sweet mama gifted me with this bunch of soft delicious alpaca wool, straight from her friends farm. I don't know what it is about wool that makes me so happy, but it does!! I am continuously amazed at the generosity of this wonderful community we share, and will surely miss this amazing group when we move on!!
As for this lovely wool, I have plans to make a couple of knitted animals that will need stuffing, and who knows what other lovely projects will spring from this gift.
~happy creating y'all~

Monday, September 20, 2010

A peaceful warrior love cape

In a couple of weeks Keenan will turn 4, I cannot believe how big he is getting, already riding a bike and swimming, completely self taught, how I love that.
I have made this cape for him as one of his gifts. Looking at it now, I suppose I might have chosen to make it more of an actual cape shape, and I even considered, after finishing, to add on some triangles to either side to make the cape flair out more, but decided that it was indeed perfect for him right now.
He loves capes these days and usually makes his own out of the play silks, however when watching me make gifts for Kaleena's birthday he kept reminding me that he would like me to make something for his birthday as well, so I think he will love this and be proud to have his very own cape.
I will share the process although it is so very simple that surely no directions are needed:)
I started with a yard of wool felt which I got here, did a general measurement of Keenan, and cutting it t size
I used plates to get the rounded neck line
as well as the bottom corners
then I folded in the edge all they way around, and sewed with gold thread to create a more weighted edge
I cut out a peace sign in cardboard and traced it unto a different piece of wool felt
then I cut out the letters of his name and a heart pinned it all on and sewed with golden thread
Fot the strings I cut two pieces of the green wool, folded it in on itself twice and sewed down both sides, this way it will tie up nice and easy for Keenan's little fingers.

And there it is, I think it turned out really sweet, and I know he will love it, 
my little peaceful love warrior.
~A wonderful monday to you~

Thursday, September 9, 2010

A woolen autumn creation

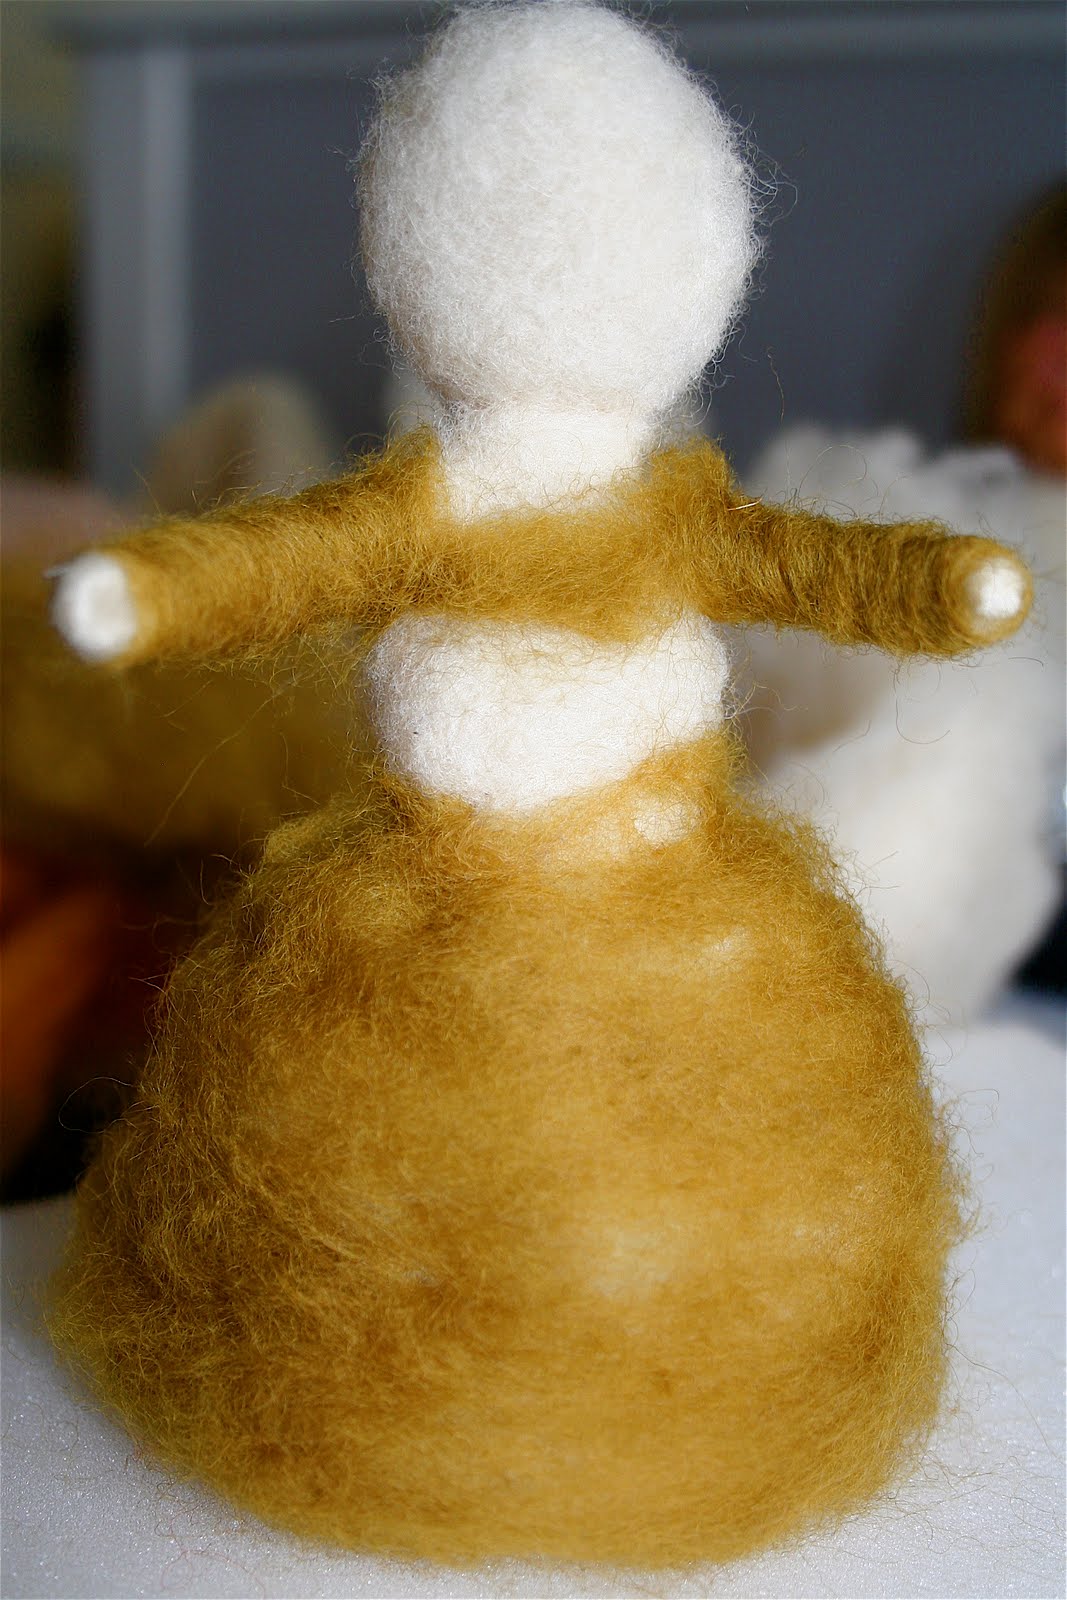
Today we set up our initial autumn table, this is always a work in progress and will evolve along with us and the season. I made this lovely woolen lady, she is my third attempt at needle felting a puppet, and first time using pipe cleaners. So clearly I am no expert, even so I thought I'd share the simple process that I used to make her.
First I shaped the pipe cleaners into this general stick person shape (I used 2 pipe cleaner folded in half)
and simply wrapped wool core around, first the head, and gently attached it with the needle 
then generously around the bottom half for the skirt. Then I wrapped the hands tightly and then the chest, all in a very casual way, felting it with the needle to keep in place
then I added color, first to the arms by tightly wrapping around the pipe cleaners, then a thin layer around the skirt, gently felting with the needle
and then around the chest, all the time shaping as best I as I could with the needle.
Once I was happy with the base, I added details, such as the apron, which I added directly onto the skirt
and the shawl which I made first and then added to the puppet, I simply rolled a tuft of wool between my hands and added a general shawl shape and attached with the needle
Then I added a piece of wool for hair and simply attached across the middle, and then tied into pigtails, I may work on creating buns instead, but did it this way because for me it was easier. I am still learning every time I create anything in wool and hair is still challenging for me unless I do a braid, pig or pony tail
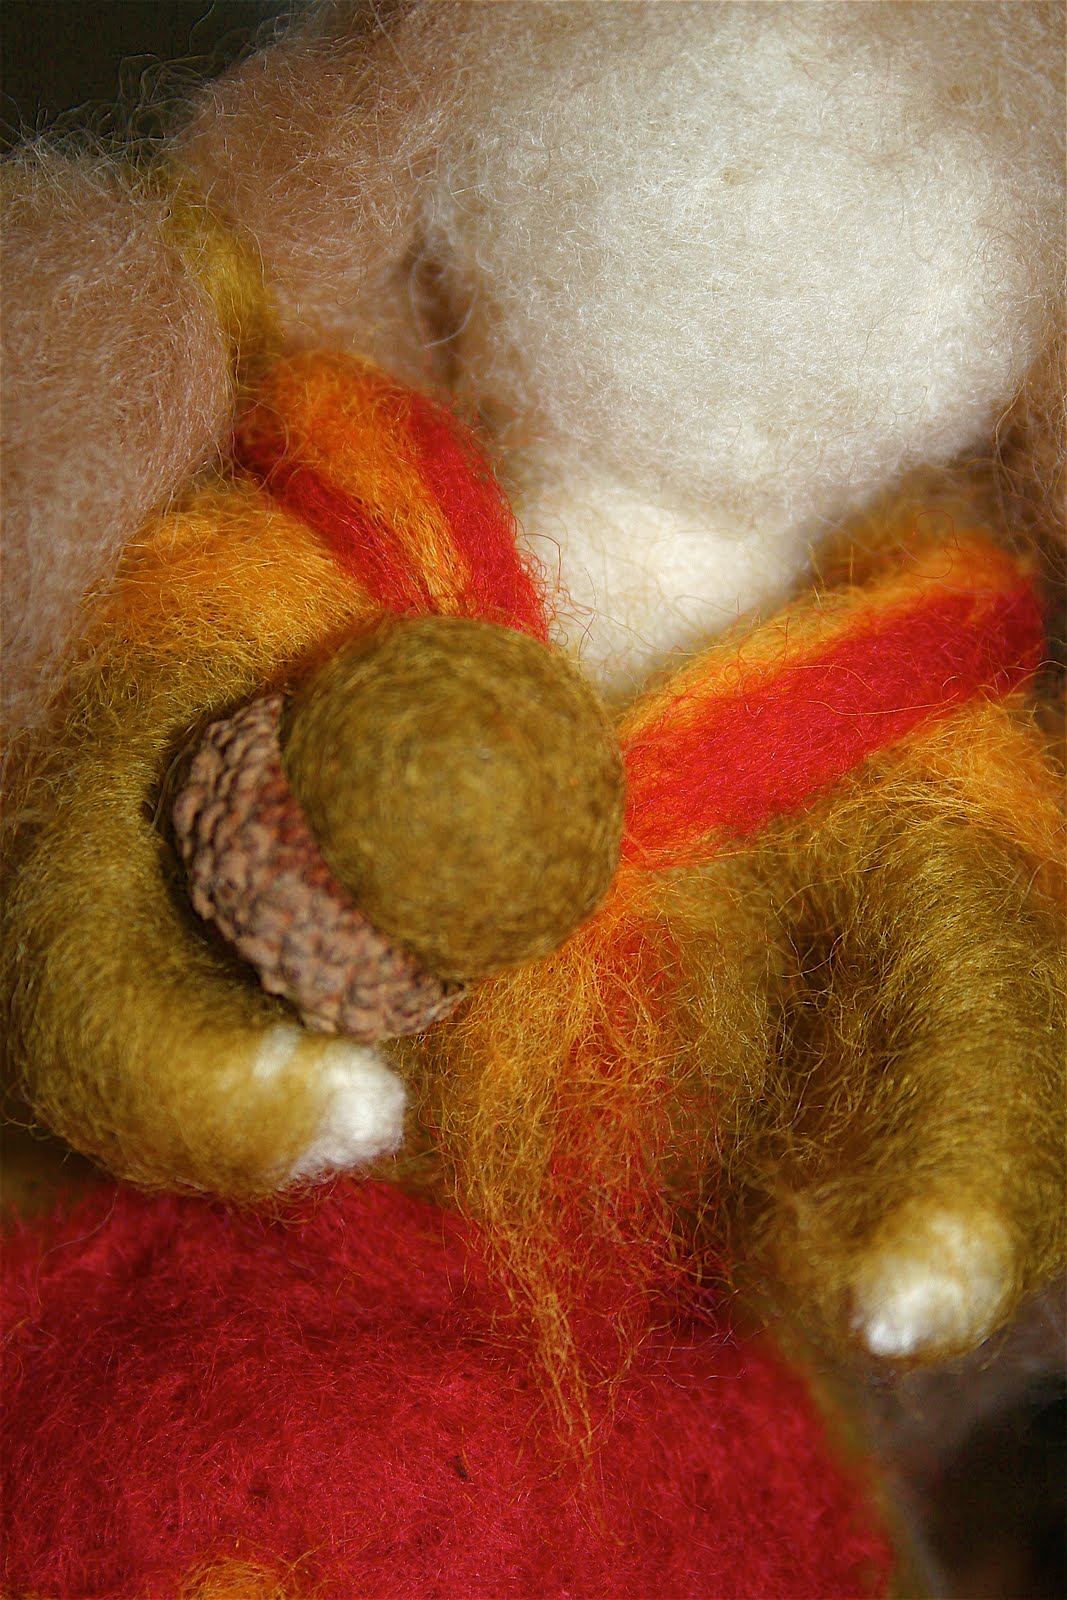
and here she is, holding an acorn she just picked from the forrest floor
We also made some more woolen acorns and added them to the nature table along with the pumpkins which we made the other day
a homemade lantern, and acorns as well as the buckeyes from the other day
and finally a lovely bouquet of the flowers we find in nature just now
~Thanks for stopping over, and have a wonderful evening~ 

Wednesday, August 25, 2010

Pencil holder

Another homemade birthday present for Kaleena this year is going to
 be this pencil holder with color pencils inside.
I just kind of made it up as I went along, and I think it came out really sweet. 
I thought I would embroider her name, or at least the first letter, 
but couldn't get it right so I ended up sewing on a felt letter instead.
I made it especially for the Lyra pencils, as they came in a tin box, and I wanted a different way to contain these wonderful pencils, they are so lovely, will last "forever" and deserve a special place to live.
I used a large piece of wool felt,  an 18" square, folded up the bottom, and pinned in one pencil at a time. 
( In hindsight, I will definitely cut at the bottom rather than fold the next time, 
as it ended up a little crooked )

I sewed it up with a gold metallic thread by hand, surely it would have been easier on a machine, however I still have not gotten the one in the basement out of hibernation:), and I like the simplicity and innocent look of a hand sewn piece. I added a blanket stitch around the edges, and also added Kaleena's name and a heart for decoration. 
I thought I might add a button to close, but instead decided on a simple leather string which I sewed on and wrapped around, simple and pretty.
~I hope you are having a lovely day~

Monday, August 9, 2010

Felted wool beads

I made felted wool beads today, it is the first part of a few birthday projects I have planned for Kaleena, who turns 7 next month. 
They turned out so pretty and I am looking forward to make more. perhaps some that are slightly bigger next time.
In case someone out there does not know how to make these, I will share how I did it. 
I used a bowl of hot water and one with cold. Wool roving, as always from here, some dish soap,  
a bar soap, and scissors.
I pulled out a long piece of wool from my bunch, about a yard long I'd say, and separated the fibers into wispy strands (on my first try I did not separate the fibers and ended up with a line going down the middle, creating little hearts instead of circles, cute but not what I was looking for)
Then I twisted it all up and dipped it in the hot water and added a bit of dish soap, then I squeezed and rubbed and rolled the fibers together between my hands, felting it to create a long snake, I alternated between the hot and cold water now and again to assist in the felting. This process took quite a bit of felting and rolling, until it turned into a lovely dreadlock looking snake.
Once I had a firm snake I cut it into little pieces with the scissors, this part is important so I realized, if you want nice even beads with no openings in them, you must make sure you cut them only as long as the width of the snake, this way it wont fold over on itself.
At this point I took them one at a time and dipped one side in a little water and rub that side ever so lightly on the bar of soap, and gently roll between my palms until it formed a perfect circle, then I left them in the sun to dry.
Here is my first successful batch
and here are all the ones I made today. I would like to make more, a whole big jar full, it does however take some time with all that rolling, so it will have to be a little at a time.
I also saw somewhere that if you want a more firm bead that does not shed, you can dip them for a moment into a mixture of half white school glue and half water, do this after they are already dry, and this should set them even further. You can of course also put them in the washer and dryer for more firmness, but I am quite happy with them as they are and will skip this step for now.
So pretty, love all those colors!
~A very happy monday evening to you all~

Thursday, July 29, 2010

First time needle felting

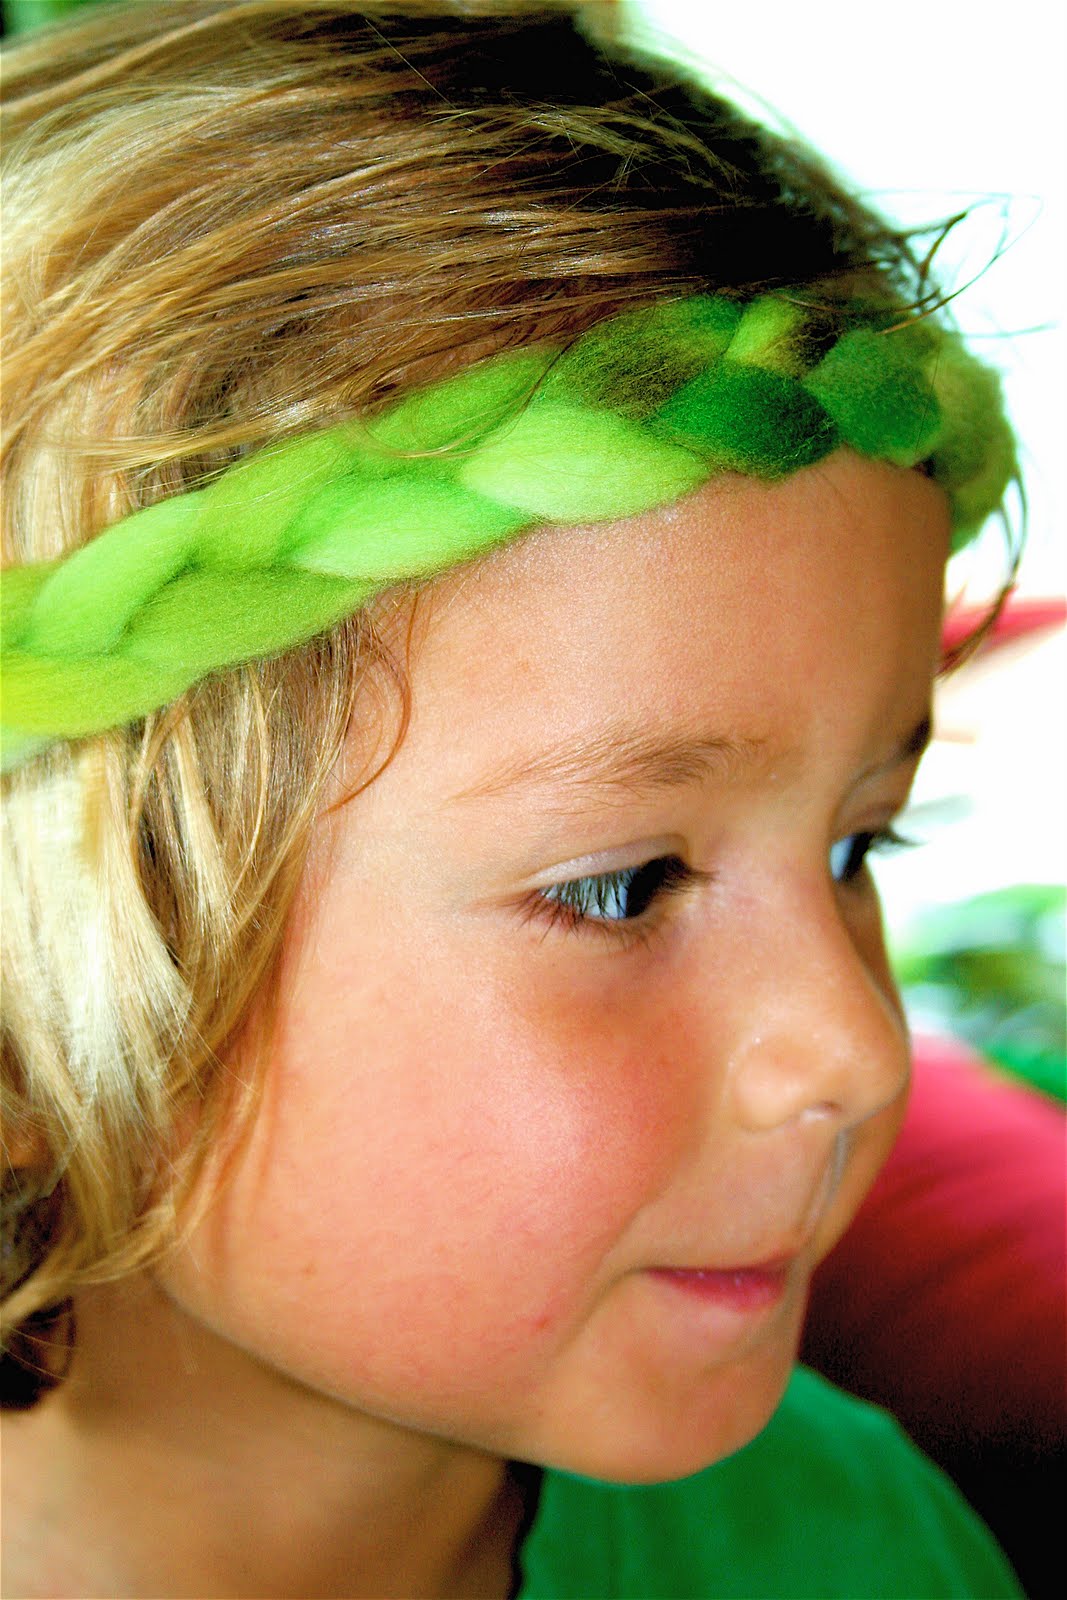
We recently received some beautiful wool rowing, and Kaleena has been asking and asking to do some needle felting, she has watched me do it, but I have been hesitant about allowing her to work with the sharp needles. Then the other day I came across a post over on Small Things, 5 little children needle felting, and felt inspired that now is the right time. So yesterday at the farm, in the heat of the day we retreated to the farm shack and pulled out the wool and needles. Keenan gathered sticks to make wands and Kaleena felted the starts for the tops. Meanwhile I braided strands of wool rowing to make the sweet head bands, and helped Kaleena felt the center piece.
First she stuffed the cookie cutter with wool rowing
and then carefully set to work with the needle


Here is her first ever needle felted star, she was so proud and happy with it, and now she wants to felt all the time of course.
I thought we would keep Keenan's head band simple, but when he saw Kaleena's butterfly centerpiece, he wanted one too, he then chose a heart. 
We attached the center piece with the needle, and the stars on the wands with hot glue.
Keenan brought his to gather eggs, and used it to keep the rooster away, he was very happy with how well the magic of the wand worked.
And here is  Kaleena's wand, she is running around with both her creations, even as I write this:)
~A wonderful thursday to you~